Put your own face on a click-worthy YouTube thumbnail with AI
Open an AI face-swap or thumbnail tool, load a base image (an existing thumbnail or a freshly generated 16:9 scene), upload one clear selfie, and let the tool cut out and blend your face into the frame at the recommended 1280x720. That is the whole loop. The hard parts are keeping the face natural instead of uncanny, building a reaction set you can reuse, and staying inside the rules so a monetized channel never takes a hit.
This is a swap-your-own-face workflow, not generic AI thumbnail maker output where a tool invents a stranger. You stay recognizable across every video, which is what trains a viewer to click on sight.
What a face swap on a thumbnail actually does
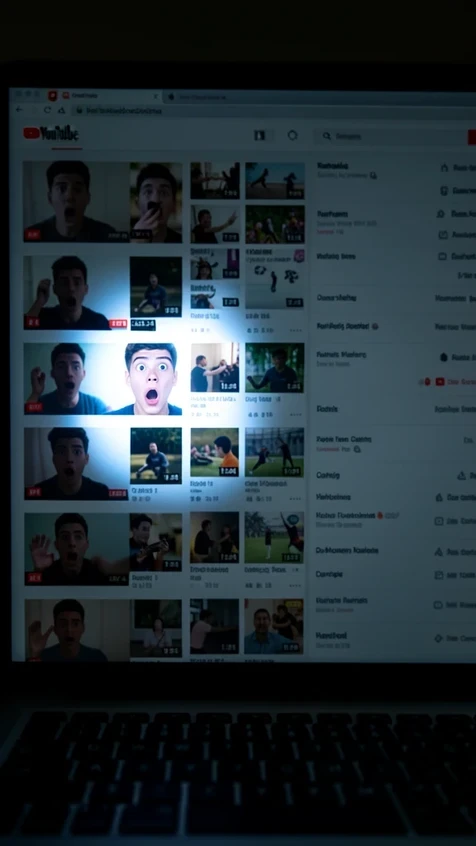
It places your real face and expression onto the thumbnail instead of letting YouTube grab a random frame from your video. vidIQ puts the stakes plainly: you have about 1.5 seconds to stop the scroll, and either the thumbnail does it or it doesn't. An auto-generated frame is whatever the encoder happened to land on, often a mid-blink or a blurry pan. A swapped face is deliberate.
Expressive faces carry that 1.5 seconds. A wide-eyed shocked look or an open-mouthed reaction reads across the rail at thumbnail size, where text and fine detail collapse. Thumbmagic reports a +50% average CTR increase and roughly 2x faster production for creators who switch to AI thumbnails, with about 90% less spent on design. The point of the swap is to get that recognizable, high-contrast face without a designer.
Step 1: Pick your base before you touch a face
Two starting points, two reasons to choose them. Use whichever matches what you already have on hand.
- Existing thumbnail: you already shot or designed something and just want your face in it. Load that file as the base and swap directly onto it, keeping your established layout and brand colors intact.
- AI-generated background: no base yet, so generate a click-optimized 16:9 scene from a text prompt first, then add your face as the second step.
Either way the output target is fixed: 1280x720 px, 16:9. WayinVideo generates covers at exactly that recommended YouTube size, so the frame your face lands in is already on-spec and won't get letterboxed or cropped on upload. Lock the canvas before the swap, not after, because resizing a finished face is where distortion creeps in.
Step 2: Add your face, three ways
The route you pick is a trade between speed and control.
Portrait blend-in
Upload a clear selfie or portrait and let the tool handle background removal and integration: it cuts your face out and blends it into the scene with matched lighting and edges. WayinVideo does this from a portrait or reference image, then hands back multiple candidates you download in HD and rotate for testing. Fastest path when you already have a base.
Prompt and upload
Describe the scene in plain text, upload an image such as your face, then generate. invideo AI runs exactly this flow and drafts in about 5 to 10 seconds, versus the 20 to 60 minutes a hand-built thumbnail used to cost. Quick concept testing lives here: write the scene, drop your face, judge the draft, repeat.
The manual ChatGPT and Midjourney route
Maximum control, steeper curve. Use ChatGPT to ideate concepts from your topic or transcript, then draft the image in Midjourney or DALL-E 3. Add a character that looks like you with --cref [URL] pointing at a reference photo, and hold the 16:9 frame with --ar 16:9. You direct every element, but ChatGPT is inconsistent at accurate swaps and the next step exists because of it.
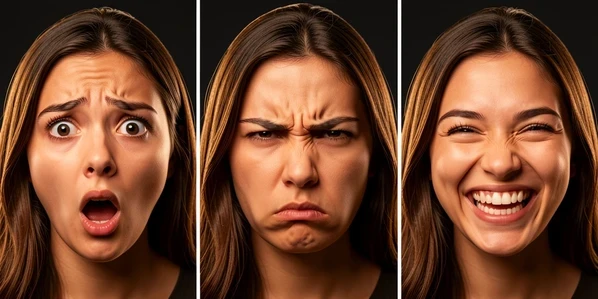
Step 3: Build a reaction-face library you can reuse
One-off swaps don't scale a channel. Training a model of your own face does. With Photo AI you upload 5 to 15 varied selfies and the model is created once in about 5 minutes, after which you generate endless reaction faces (shocked, angry, happy) that still read as you.
That solves the consistency problem behind channel branding. The same face, the same person, every upload, without re-cutting a selfie each time. One creator on Photo AI reported reaction-face thumbnails lifted views 30% in a month. Pricing is credit-based: 1 credit for a Hyper Realism generation, 5 for Nano Banana Pro, 30 for a video with sound, and a referral hands you and a friend 1,000 credits each.
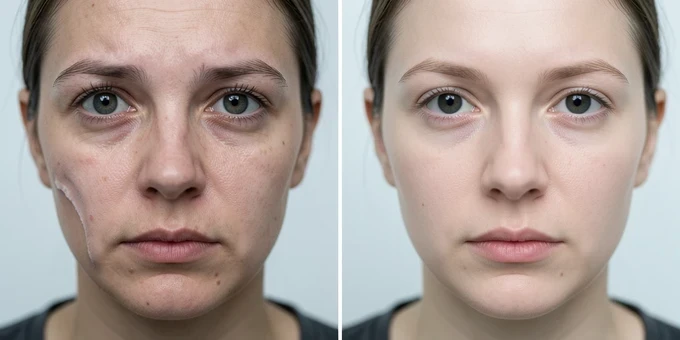
Step 4: Fix the uncanny face
Distorted swaps come from a mismatch the AI couldn't resolve: your face was lit differently than the base, sat at a wrong angle, or arrived too low-resolution to map cleanly, so the model guesses and the guess looks melted. Feed it a sharp, front-lit portrait at an angle close to the target, and most of the warping disappears before you edit a thing.
ChatGPT is the common failure point. A YouTube commenter put it bluntly after a hundred-plus attempts: it just can't swap a face accurately. Another found the function banned in their account entirely. When that happens, drop to a dedicated face model rather than fighting a general chatbot, or re-edit in natural language.
vidIQ lets you type changes like 'make it brighter' or 'add bold text' and updates the thumbnail in real time, so refining an awkward swap is a sentence, not a layer stack. Need two people in one frame, say a reaction shot with a guest? Place and swap each face separately, then balance their lighting and scale so neither looks pasted on top of the other.
Step 5: Stay safe to monetize
Swap only your own face, or one you have explicit consent to use. That single rule keeps you clear of the impersonation and likeness problems that put monetization at risk. Photo AI asks you to agree to its Terms of Service before generating, and Quillbot is direct: ensure you comply with the Copyright Policy and Community Guidelines. Treat those as the floor, not the fine print.
Exaggerated reaction faces are fair game; promising something the video never delivers is not. A shocked face over a video that earns the shock is good thumbnail craft. The same face over a bait-and-switch is the clickbait pattern YouTube penalizes. Keep the expression honest to the content and you get the CTR without the strike.
Step 6: Export, test, and rotate
Download the finished thumbnail in HD at 1280x720, the size every tool here targets so nothing rescales on upload. Then generate variations from the same input instead of building each from scratch. WayinVideo returns multiple candidates per run for exactly this.
Take two or three of those variations into YouTube Studio and rotate them on the live video to compare real click-through, not your guess about which face hits hardest. The whole reason A/B testing usually stalls is that a second thumbnail doubles the work. When the second one is a free re-roll of the first, the test actually happens.
| Route | Best tool | When to reach for it |
|---|---|---|
| Portrait blend-in | WayinVideo | You have a base and want a fast, on-spec swap with HD variations |
| Prompt and upload | invideo AI | No base yet and you want to draft many concepts in seconds |
| Trained reaction model | Photo AI | You need a consistent shocked / angry / happy set across every upload |
| Real-time re-edit | vidIQ | A swap looks off and you want to fix it by typing instructions |
| Manual control | ChatGPT + Midjourney | You want full direction via --cref and --ar 16:9 and accept the learning curve |